Showing posts with label diy. Show all posts

Thursday, June 21, 2012

New Hats for New Babes

I have had the rare opportunity to work from home this June as my previous band hall is being gutted and my new band hall has not been released to the school district by the construction company. Keeping my own hours is great as I can choose what time of day I work and what time of day I watch Real Housewives! I've been sliding into my normal summer routine of going to bed later and later while waking up barely in time for The View. :) You know you've slept too late if you miss hot topics!

One of my friends, who I am also lucky enough to work with during the school year, just had her first kid. With kids comes the excuse to pull out the yarn in the name of "gifts". Earlier this year I made my nephew this sock monkey hat born from online inspiration. A month or so ago I came across a newborn elephant hat on Etsy that had already been sold that was so dang cute I couldn't help but want to try it myself.

I had plenty of time! This kid wasn't due until nearly mid June!

But then life happens, as we all know it does, and there were just soooo many DVR episodes to catch up on, so many emails to send to square things away with my new school, so many Pinterest recipes to try! When I saw the Facebook update that my friend was in labor, I'm fairly certain that my exact thought was "shit!" I had to start that hat!

I ran up to Hobby Lobby and bought my grey, pink, white, and black yarn, and sat down determined to finish the hat before the kid was born. I used this site for my hat sizing. For the elephant ears though... I just had to stare at the original picture. It looked like the ear interior were two conjoined pink circles with then the grey outlining and giving the elephant shape.

Easier said than done... I remade the first ear 7 times. Seven times I made the complete ear, looked at it, and thought no, that is not a satisfactory elephant ear! Each time I frogged it, the size got a little better, the shape got a little better, and then I started getting inspired to put some curves into the actual form. The end result:


guess who's getting lots of junk made for him since my dogs won't wear sweaters?!?!?!
I was really happy with the result and think my version came out just as cute as the original, maybe a bit cuter. :) The ears have a slight Yoda look to them, but I like it! When Noah outgrows the hat it'll have to get passed around because it is just too awesome not to be worn. ;)

***********************************************************************************


Wonder what this is going to be...

Wednesday, March 14, 2012

Good Pinterest vs. Bad Pinterest

Inspiration #1 - GOOD
via


I thought this shirt was super cute and decided to try my hand at beading. I looked a little over the directions but improved it a bit. I used glass pearl beads, contrary to the instructions not too heavy, and while I did read the first few instructions, I decided that I didn't like how they attached the beads. In mine, I ran the thread in between the layers of the neck so that it is invisible sewing. Took about an hour maybe(?). The result was pretty awesome. :)

shirt bought for $6 at the Gap at Christmas, glass beads bought for 50% off at Hobby Lobby

i like that the pearls detract from the fact that i have no make up on :)

Inspiration #2 - BAD

via
I actually chose to follow the directions on this, and despite the fact that the picture makes these yogurt dots look just so precious, they were anything but. I dumped some Yoplait Harvest Peach yogurt into a plastic sandwich bag, cut off the corner like when applying frosting, and made little dots on some freezer paper. An hour later I had this:


Aw! Cute, just like in the blog... Only problem? As soon as you take them out of the freezer they start melting. IMMEDIATELY. Thick, soupy mess. Not the cute, genius idea I thought it was. Bummer. :(

Monday, March 12, 2012

Spring Break: In the beginning...

countertop celery update
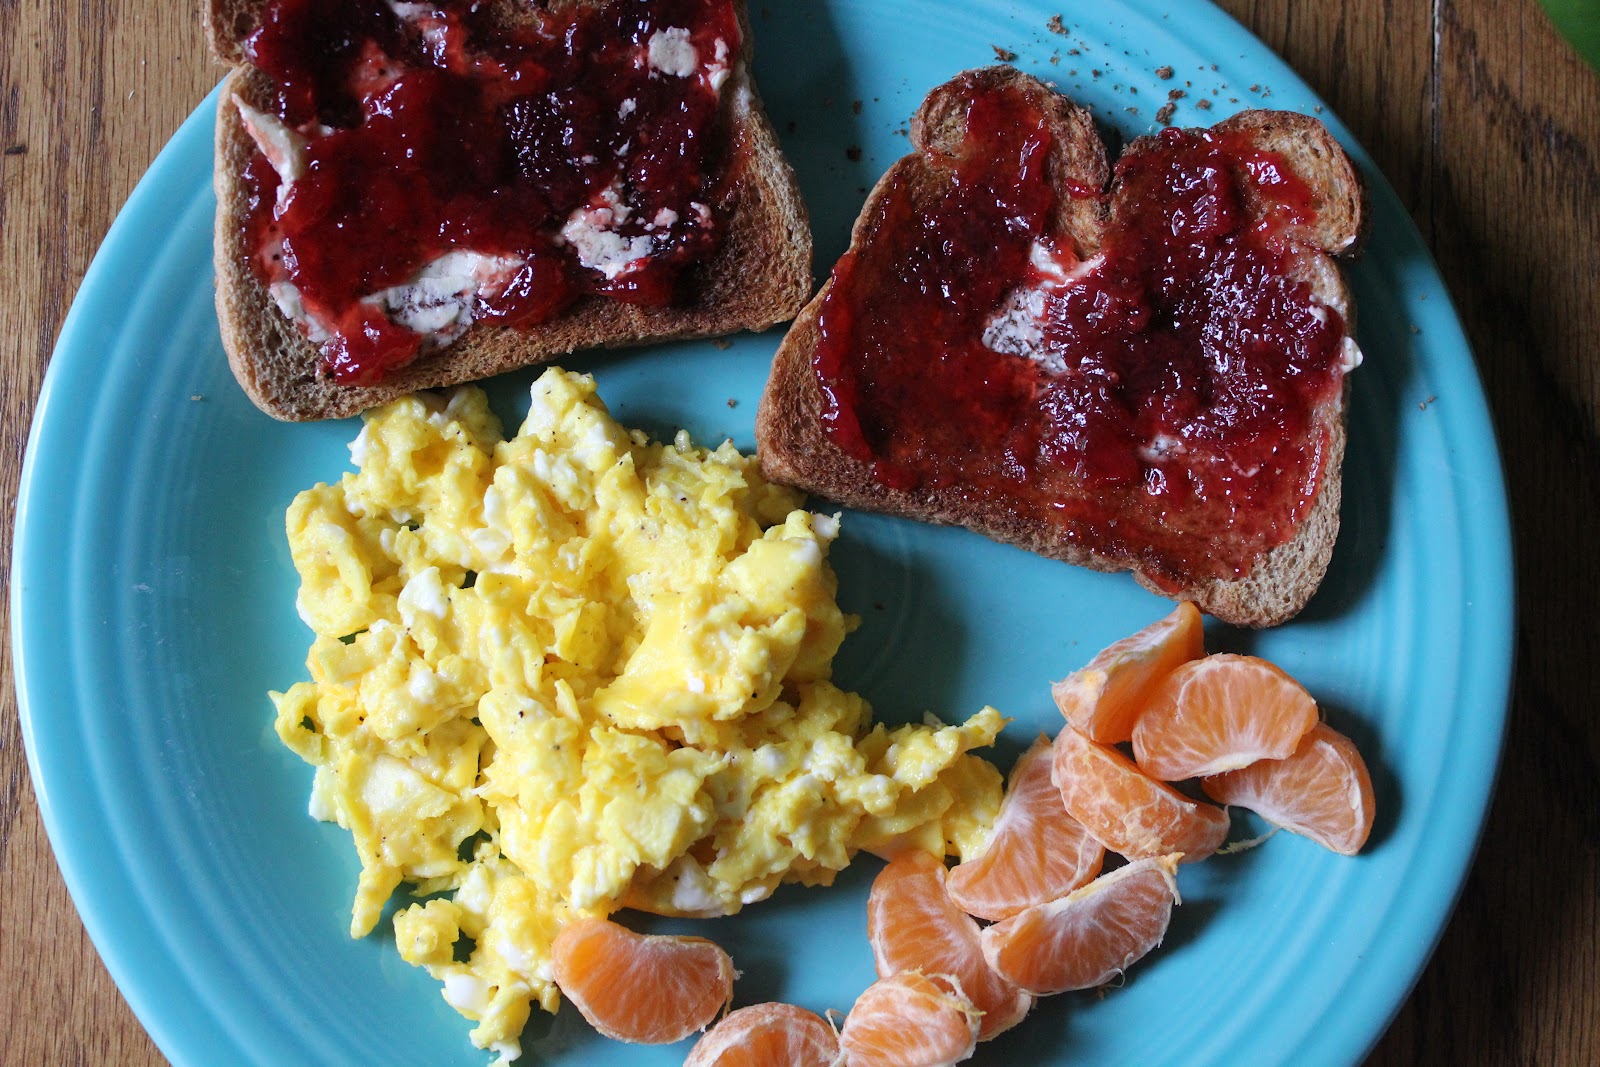
farmer's market scrambled eggs - the yolks were the same color as my midget oranges

there's a DATE on this stuff?????? whoops...
one of three stacks of my beloved Oprah's going to recycling that I whittled down to just the dog-eared pages 
pictures do not do my closet justice for how clean and roomy it is now!
vertically folded my tshirts in the closet drawers just like on Pinterest - it DOES make it easier to find shirts!

playing around 


Monday, February 13, 2012

My "No Skills Necessary" Medusa Scarf

In true bizarre Texas fashion, yesterday we had snow and sleet, and tomorrow's high is a projected 76!


While the snow came down I watched NY Ink and simply crocheted a simple chain using the majority of an extra ball of Wool-Ease. I slip-stiched it together and wrapped it up to form my new Medusa scarf that I think is nice and warm & playful! Today I wore it to school with a black long sleeved cardigan and a khaki ribbon tank I got at Ann Taylor last spring. Again, no skills necessary.

Sunday, January 22, 2012

Yarn & Kleenex - a weekend project

This is weekend #2 I have felt like crap. I'm going on two full weeks of battling a cold that insists on lingering, thanks in part to the fact that I admittedly don't take good care of myself. I stay up too late. I eat badly. Frozen blueberries and V8 is literally the bulk of my fruit and vegetable intake. I've never made time to take care of me. Until recently (which isn't all that recent anymore) Roger was the one that forced the issue of going to bed, nursed a sickness with fluids and all that stuff they tell you is good for you, even reminding me I should probably take time to eat lunch at work.

Let me save you the trouble by telling you the results of my recent experiment: purposely dehydrating yourself does not stop snot production.

When you actually put that into the written word, it sounds a lot dumber than it did in theory... I finally broke down and bought some sign-your-life-away-give-them-your-drivers-licence Sudafed today which says a lot because I can almost guarantee I won't sleep tonight because of it. I'm one of the lucky 5-10% of the population that Sudafed causes insomnia. woo hoo.

Instead of sleeping my cold and weekend away, I chose to start a project that ended up taking most of the weekend due to trial and error. My project of choice - a sleeve for my MacBook Pro. I already have a fancy case/bag for it, but sometimes I don't want to carry that and just want a semi-protective sleeve that will fit in my school bag or my fancy new giraffe print purse (thanks Joan!). I was inspired by this sleeve, but my stitch pattern and actual construction is unique.


I think I may hate the colors. I like the red, but I've been going back and forth on the edging... It was between a variegated taupe and this sparkly black. It's current state is a bit too Texas Tech for me, but the taupe looked very... "homey"?.... to me originally. If I change my mind I can easily replace the edging, but I am kinda fond of the crocheted "d" on the back. :)

Thoughts?

Saturday, January 14, 2012

A Pinterest Inspiration

So over Christmas break I succumbed to the vice known as Pinterest. I had seen some Facebook friends comment on things they saw on the site before and decided I needed to check it out... Oh my goodness have I spent too much time on that site since that fateful moment.

My first attempt at recreating a Pinterest find was a project using paint chips. Allison at the 3 Rs blog sliced up 3 tone paint chips and then arranged them creating framed art. Below is her red version and my teal version that now resides in my un-tealed toilet room.

 I mod-podged the strips to a piece of paper that fit the frame, and wa-la! I think it would look better in a matted frame, so that'll be the next step.

Working on completing a forever-ago started project, this weekend I decided to actually finish up the bathroom. Kind of. I still need to go back and repaint the back wall the lighter color brown that I decided looked best, but that's another today. Today was all about caulking.

I became a professional caulker when we installed the crown molding in our bedroom. Unfortunately, it took a lot of trial and error before I learned the secrets of fantastic caulking. :)

The key to caulk is painters tape. They certainly don't tell you that on the tube or on a lot of the websites out there. First you have to decide how much caulk you actually want to be visible. If you look at a lot of the newly built houses, the contractors actually leave a decent amount of caulk visible, becoming almost an extension of the molding. As nerdy as it sounds, I spent a lot of time looking at the caulk in my in-laws' recently built house, even taking pictures of it with my phone, so that as I did it in my house it matched what current builders were doing. I like leaving a few millimeters visible.

After it's taped, I run a healthy line of caulk along the molding. I operate under the philosophy of "more is more". If you thinly apply caulk, sometimes your paint peeks through, especially if the wall is darker like in my chocolate brown bedroom.

With my finger I force the caulk into the gaps, simply running it over the line. I use the excesses my finger picks up to start caulking the next section. The caulk spreads onto the tape and the molding itself. A damp paper towel easily takes off any excess that ends up on the molding.

DON'T WAIT FOR THE CAULK TO DRY TO REMOVE THE TAPE... One of the many mistakes I made learning how to do this. Tear it off at an angle away from the molding, and ta-da! :) I discovered in documenting my fabulous caulking skills that caulk is not that easy to photograph... But if you visited my toilet room (which would be odd visit in and of itself), you would be dazzled. :)

Since a little molding in my toilet room obviously doesn't use the entirety of a caulk tube, I simply put an appropriately sized nail or screw into the tip to keep it from drying out for my next project - which is to caulk the molding we put in the office in 2009...


Saturday, October 22, 2011

Thanks, Dad!

Last weekend my family came to visit and hear my band's concert, and luckily Dad made it a working visit! Thanks for the Man Job help!

The hole in the ceiling is gone!

I have baseboards on either side of the fireplace now!

The "squirrels, be gone!" hole in my closet is patched after 2 1/2 years!

The rotten baseboard in the bathroom is replaced. 

AND, the molding is up in my toilet room!